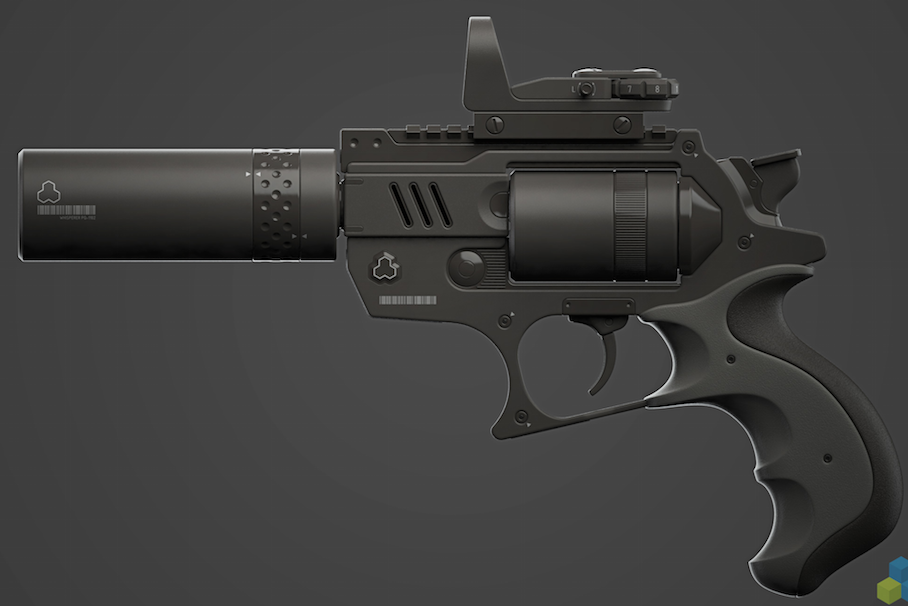
I have been digging myself down with proper hard surface modelling these last few weeks and now is the time to show what I have been working on.
I found a nice YouTube video with a very appealing revolver while browsing for some good tutorials/videos about hard surface modelling. and it included the reference to this new project of mine.

IT mostly just shows you some pitfalls and how to overcome them. I think i mostly just glossed over the video and just used the reference.
And of course I started with the more complicated piece of geometry, mostly since that was the largest challenge. And thus the simple process was started.
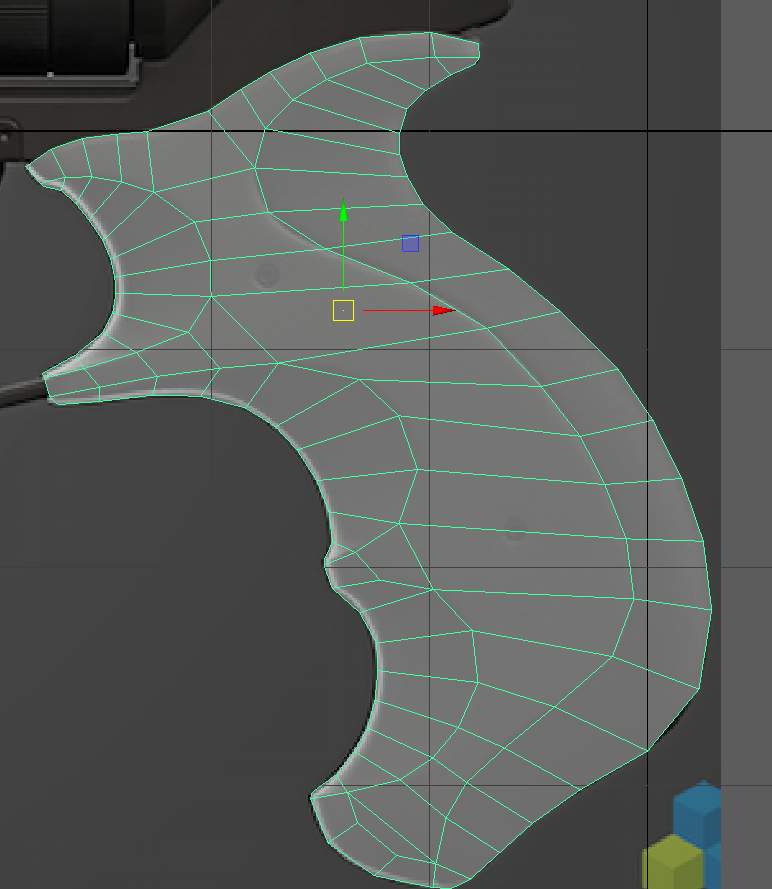
First step was to get a proper outline started. Quite simple since the reference was easy to interpret. Started with a smooth plane and then used the multi-cut tool to put out vertices on the plane. and then did a second cut to cut out the areas that are going to be rounded and a different material and then it was just to connect those vertices an a good looking way, adding and removing verts here and there so everything could connect nicely. Piece a cake.
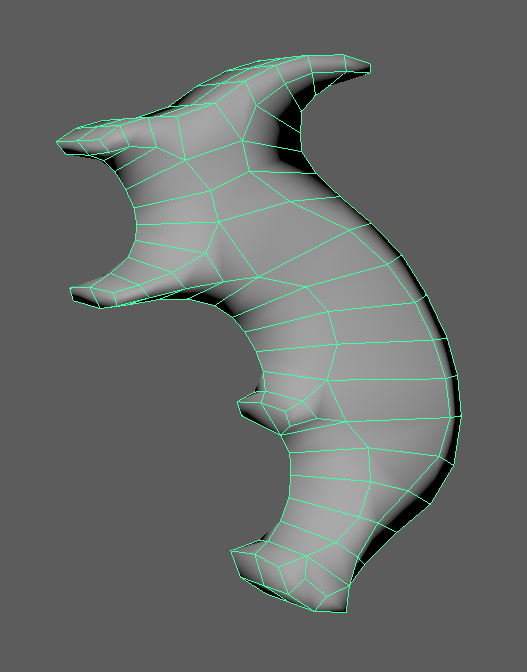
Adding the depth was slightly harder. Since I was a bit confused about how to make it look nice. I decided that I wanted to just move the flat surface outwards and leave most of the edges where they were. Then I extruded some faces where the surface was supposed to be a bit more flat.
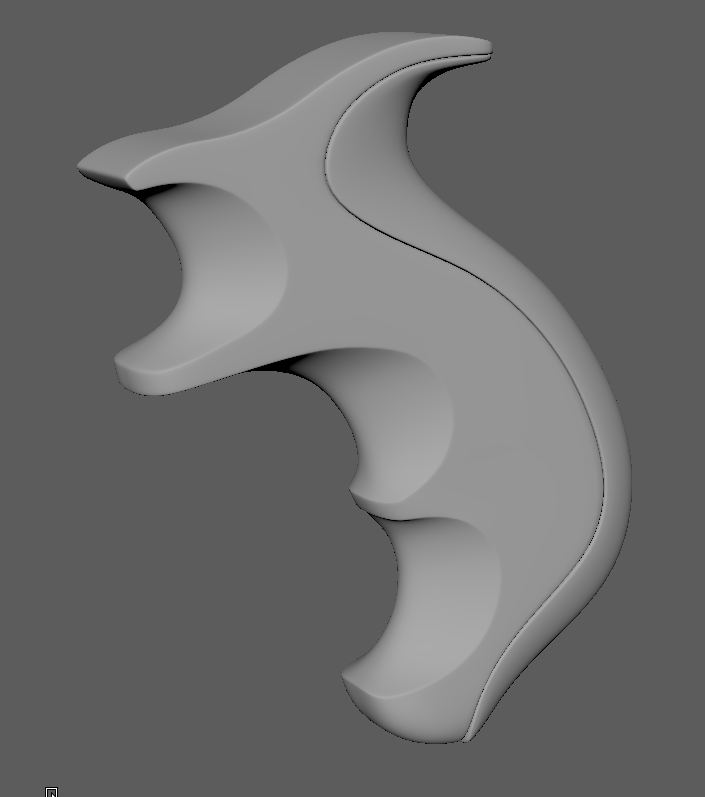
Okay, now I had a basic shape to add some more geometry on. While going back and forth between smoothing and normal. I added the necessary edges to make things round enough and edges hard enough. And it turned out quite nicely.
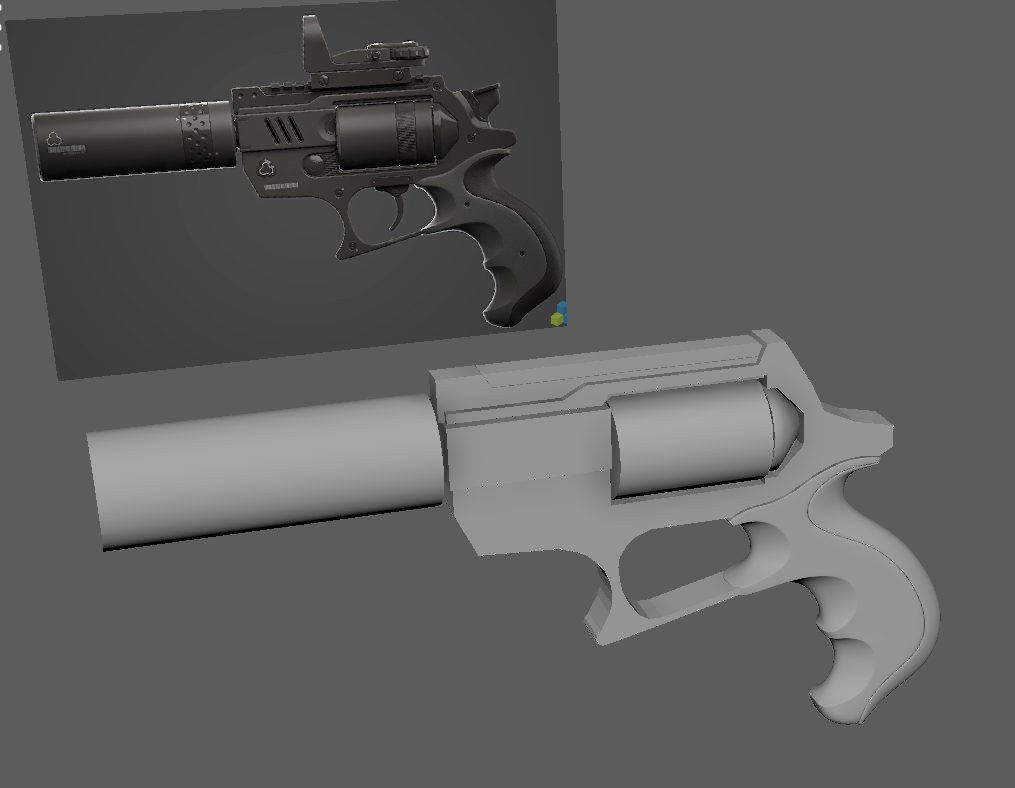
Now it was time to block out the basic shape from the reference. making the separate pieces their own object, mostly for the ease of modelling and refining later. This time I started with a small plane and extruded edges out from it, adding more verts and cuts when needed. Simpler shapes where just made with basic primitives.
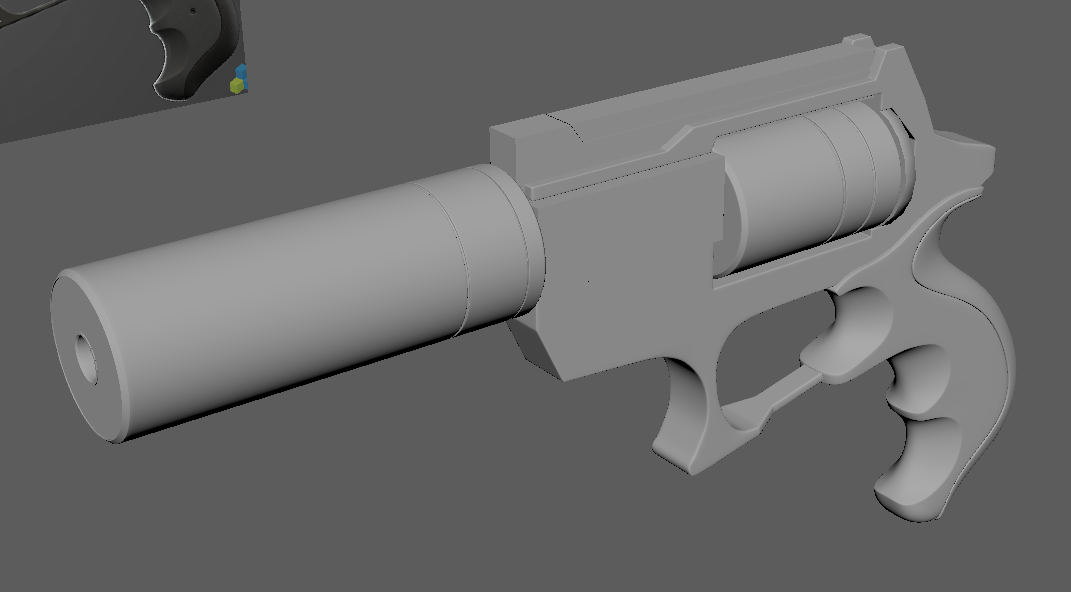
After there was a basic shape it was time to add the support edges to make it look good when smoothing the whole thing. I also added a few details on the cylinder holding the bullets.
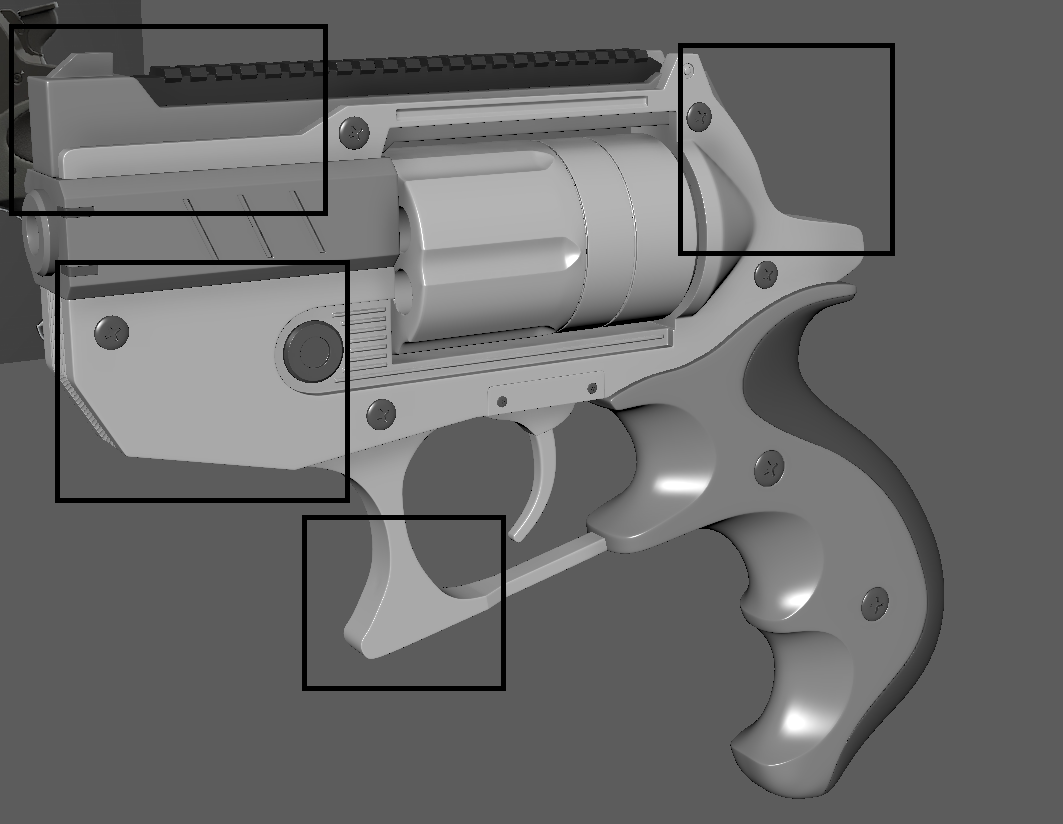
It was not hard to add the extra details that we can see here. Mostly just extrude and cut where it was needed.
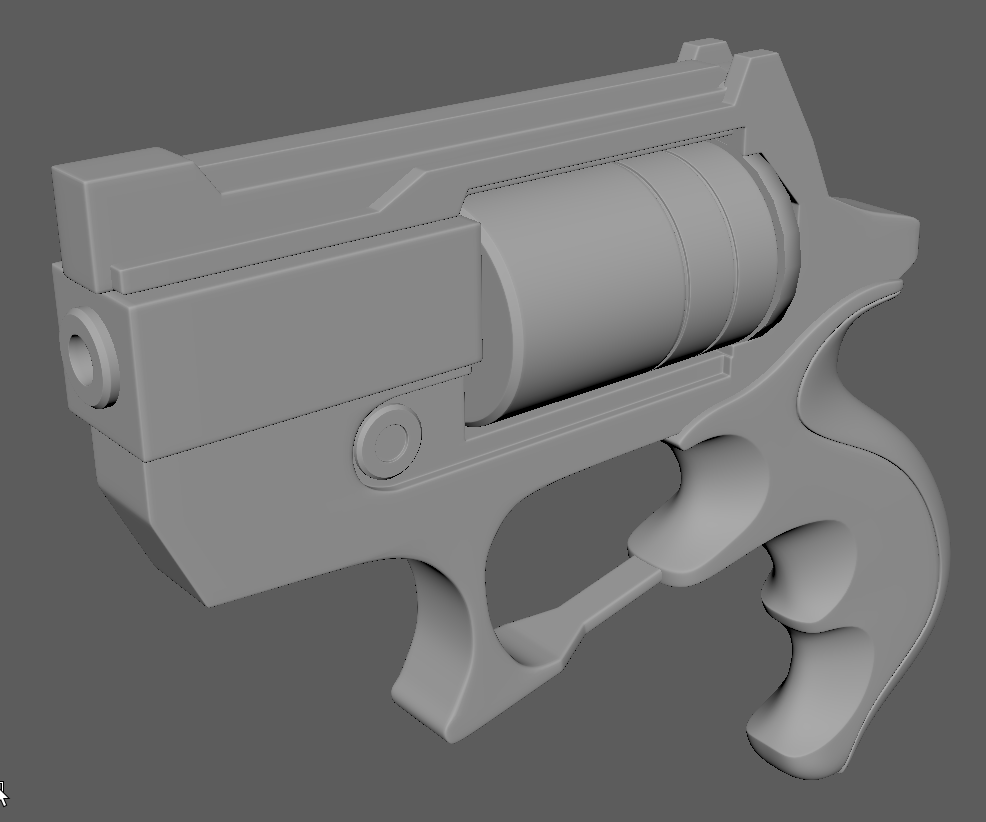
It is finally starting to look like something that might turn out well in the end. I kind of disliked the thick trigger guard from before and made it thinner. While also adding a centre grove for future details. With the basic colour it really started to pop more and I could see that it might become something that I can be happy with.
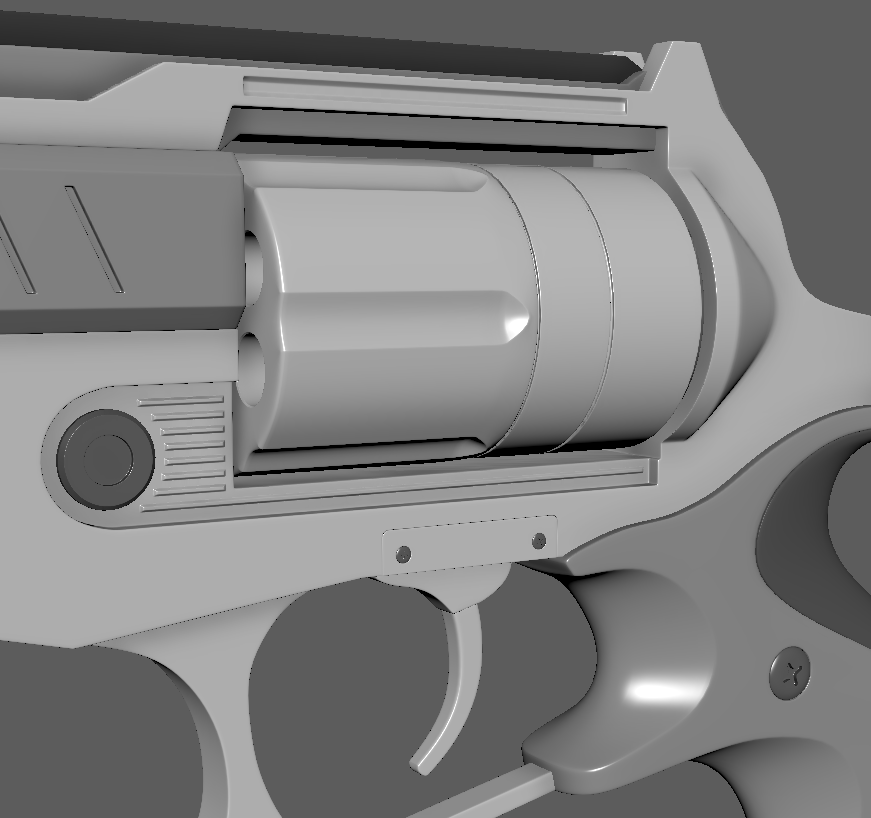
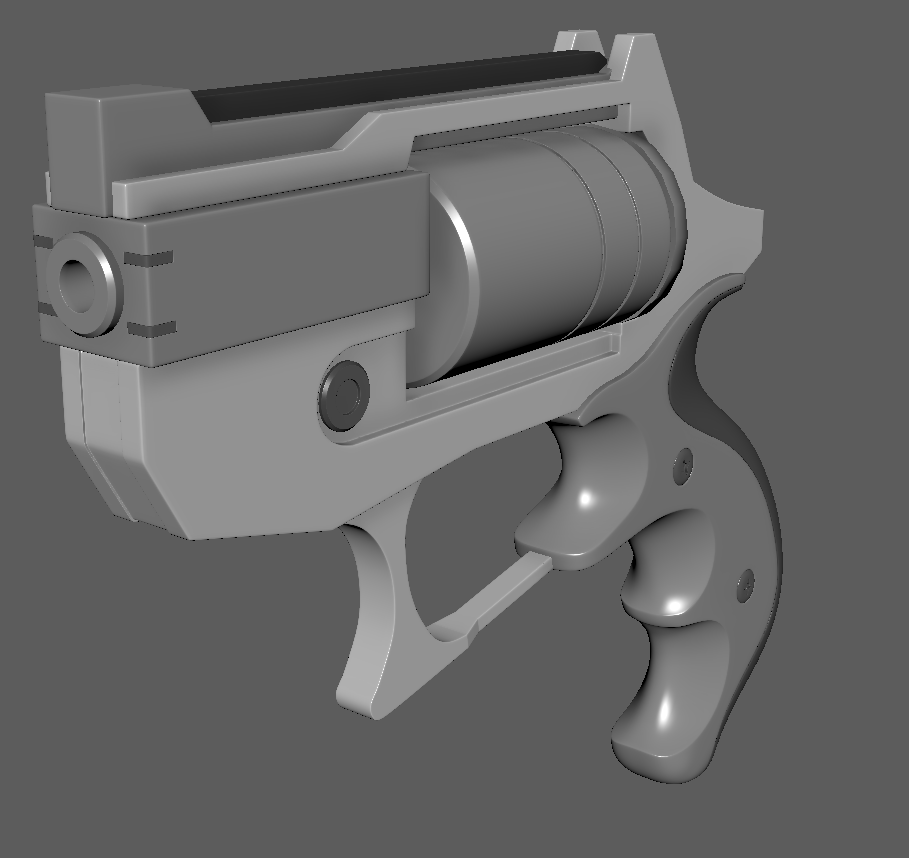
The revolver part of the revolver finally got some new and proper definitions. It looks somewhat nice but there are some issues with it that i did not really like and my solution to it was to just ignore it and maybe fix it later. The issue mostly came from that the base model I used where to low-res to properly deform in a right way. but it looks good enough. Made some nice screws to insert here and there in to the revolver. The small raised groves beneath the bullet housing are also separate meshes. It was just simpler to have it made like that and have it blend in to the flat surface on contact.
I still had some areas that needed more details and stuff. The most glaring issue was that the hammer was still missing.
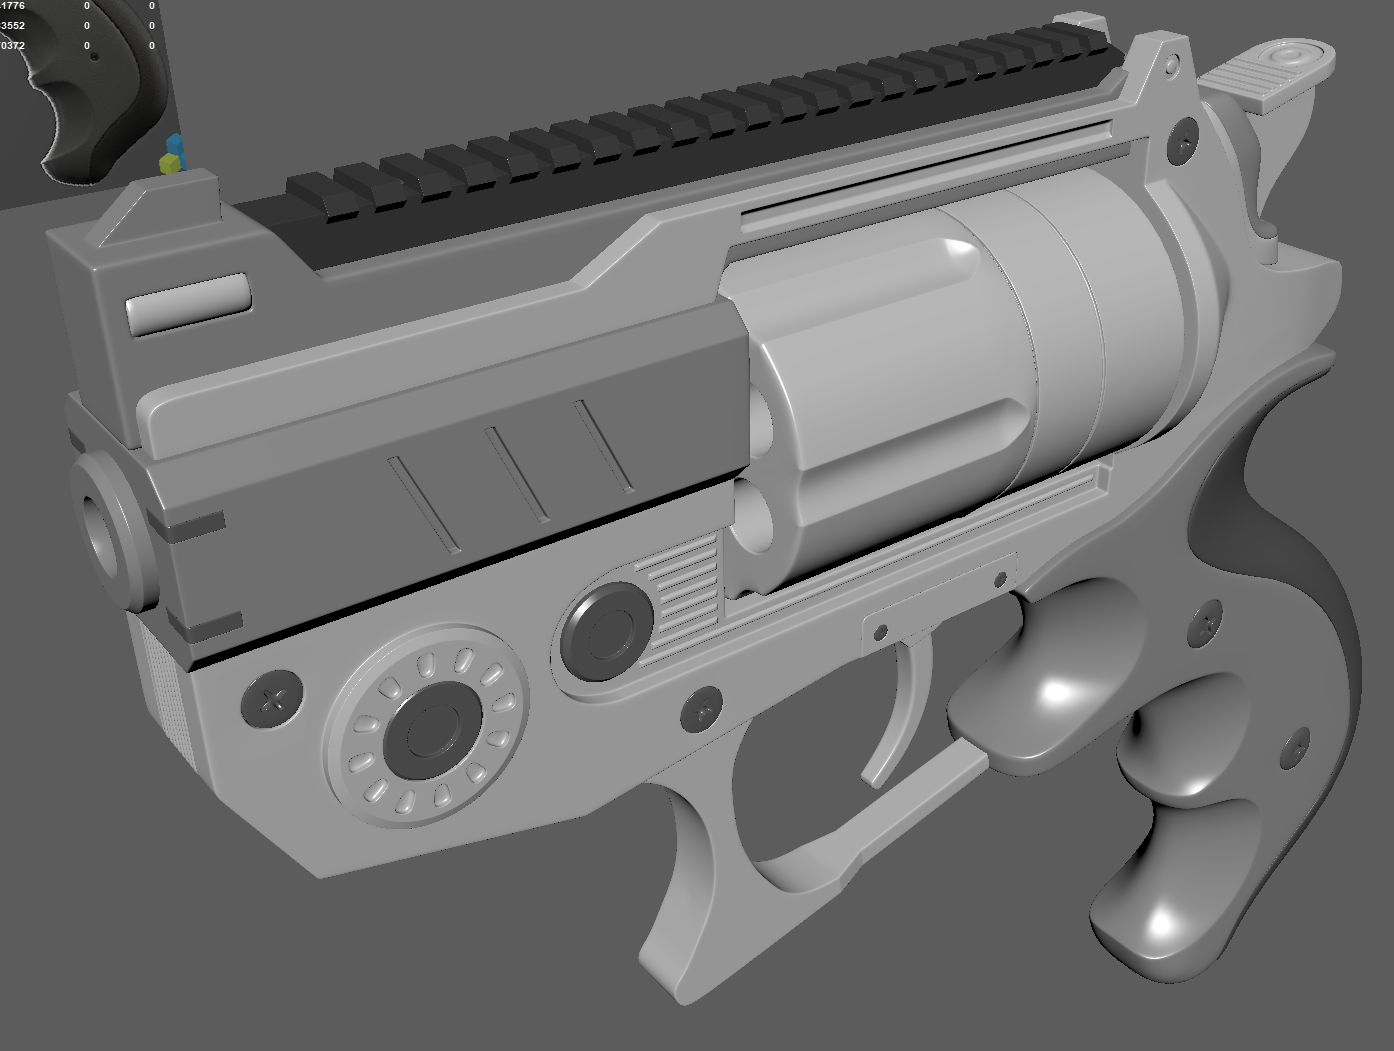
The hammer was finally made and added some more details to fill in the empty areas.
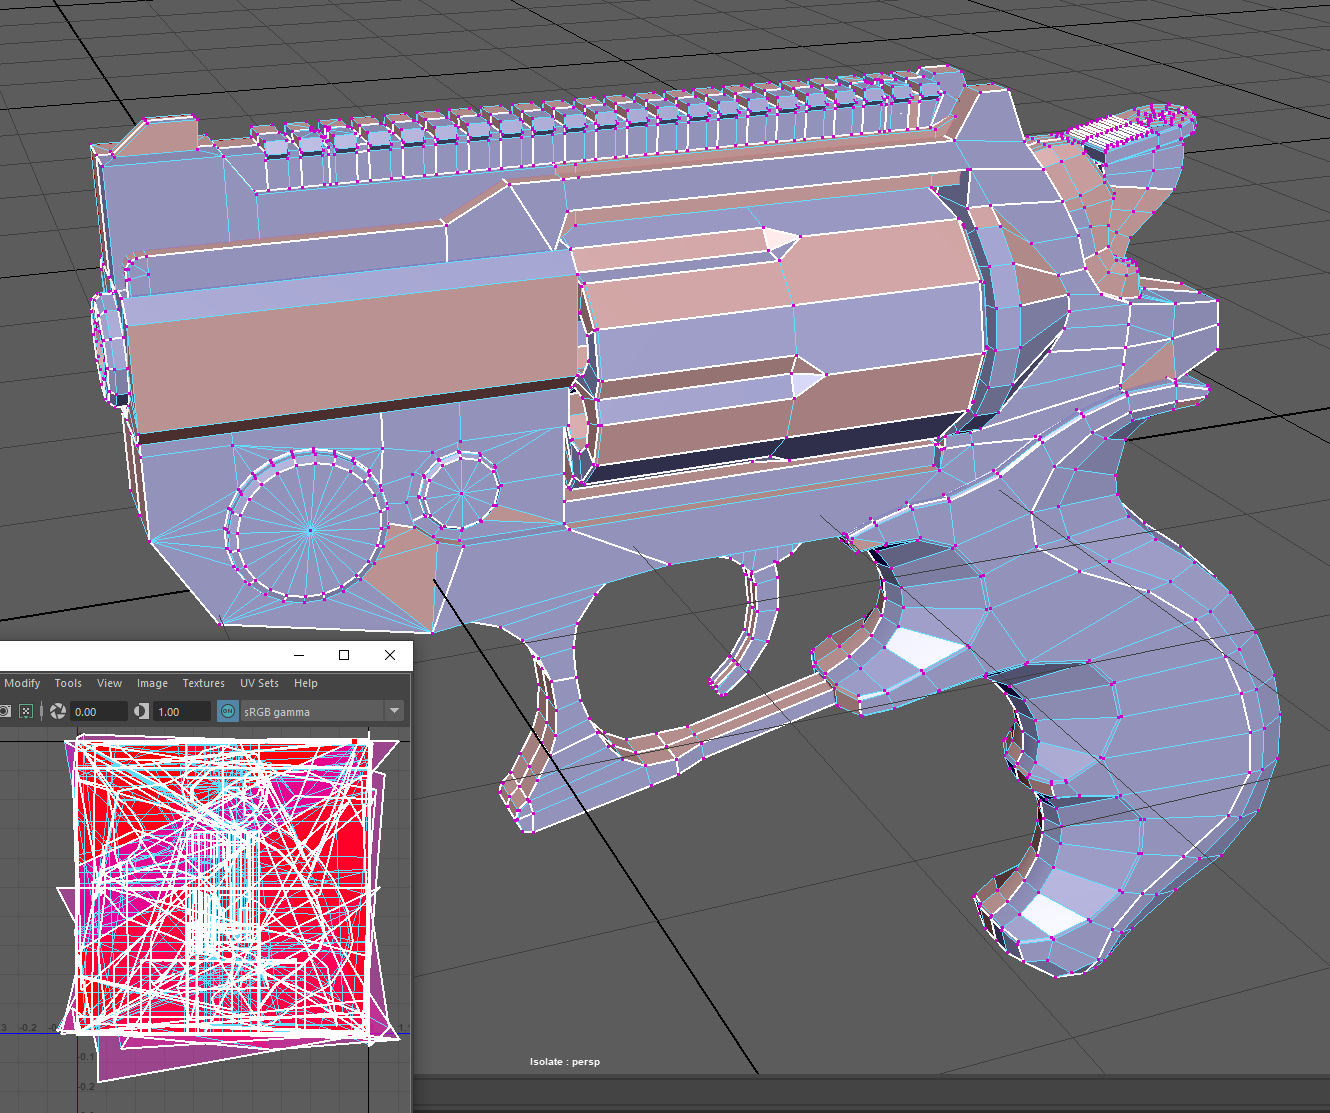
Quickly made an lowpoly model for some baking and texturing. UV mapping is always a pain, so I just did a quick automatic UV map for some easy baking and error spotting.
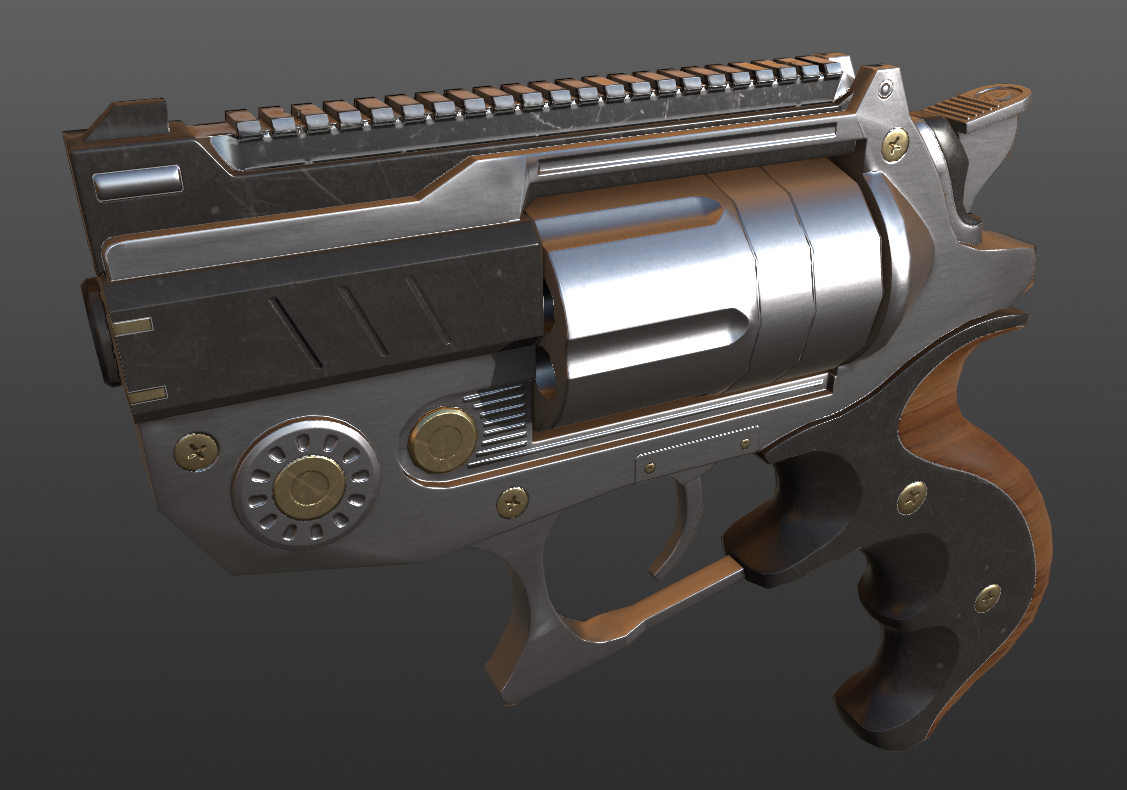
After the map baking I used Quixel Mixer to throw on some quick smart materials to see how it looked. It looked quite okay. but those of you that have somewhat sharp eyes can see the issues with the normals in certain areas. and that will be needing some fixing. But overall it does not look too bad. I was expecting some more errors and other issues but it was more than okay enough to just fix the normal issue and then do the final bake and texturing.
I will probably make an other post in the future showing the final version of this revolver. But again it is quite nice for my first proper hard surface model.